Prism.Formsのプロジェクトを新規作成します。
Prism ContentPageを1つ追加します。NextPageという名前で作りました。こんな感じで。
<?xml version="1.0" encoding="utf-8"?><ContentPage xmlns="http://xamarin.com/schemas/2014/forms"xmlns:x="http://schemas.microsoft.com/winfx/2009/xaml"xmlns:prism="clr-namespace:Prism.Mvvm;assembly=Prism.Forms"prism:ViewModelLocator.AutowireViewModel="True"x:Class="PrismUnityApp8.Views.NextPage"><Label Text="NextPage!!" /></ContentPage>
次に、Viewの登録をします。App.xaml.csのRegisterTypesメソッドを以下のように変更します。
protectedoverridevoid RegisterTypes()
{
    this.Container.RegisterTypeForNavigation<MainPage>();
    this.Container.RegisterTypeForNavigation<NextPage>();
}
Prism.Formsで画面遷移するには、ViewModelでINavigationServiceを受け取ります。このクラスのNavigateメソッドを使うことで画面遷移が行えます。こんな感じで、Commandが実行されたら、NextPageに遷移する感じのコードは以下のようになります。
public DelegateCommand NavigateCommand { get; }

public MainPageViewModel(INavigationService navigationService)
{
    this.NavigateCommand = new DelegateCommand(async () => await navigationService.Navigate("NextPage"));
}
引数のnavigationServiceという名前も大事なので要注意です。
MainPage.xamlにボタンを追加してCommandをバインドします。
<?xml version="1.0" encoding="utf-8"?><ContentPage xmlns="http://xamarin.com/schemas/2014/forms"xmlns:x="http://schemas.microsoft.com/winfx/2009/xaml"xmlns:prism="clr-namespace:Prism.Mvvm;assembly=Prism.Forms"prism:ViewModelLocator.AutowireViewModel="True"x:Class="PrismUnityApp8.Views.MainPage"Title="MainPage"><StackLayout HorizontalOptions="Center"VerticalOptions="Center"><Label Text="{Binding Title}" /><Button Text="NextPage"Command="{Binding NavigateCommand}" /></StackLayout></ContentPage>
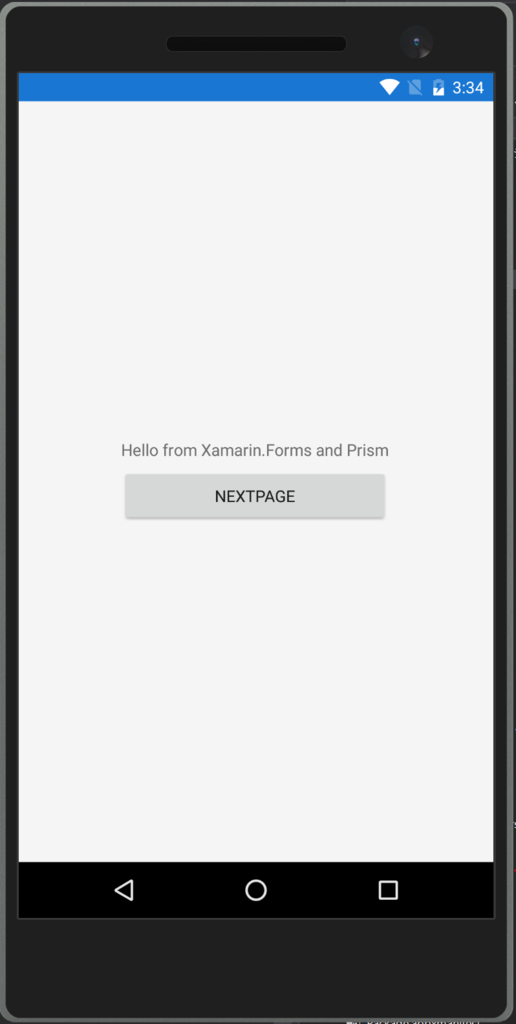
実行してみると以下のようになります。
まず、最初のMainPage。

そして、ボタンを押すとNextPageへ。

まとめ
Prism.Formsのテンプレートを使うとViewModelにINavigationService navigationServiceというシグネチャの引数を渡すことで、画面遷移するためのクラスのインスタンスがわたってきます。こいつに遷移したい画面名を渡すことで画面遷移ができます。
非同期のメソッドなのにAsyncって名前になってない点が気に入らない(Issueにもあがってた気がする)